How to Keep a Food Pantry Clean: Tips and Tricks for a Spotless Storage Space
A clean and organized food pantry is essential for maintaining a healthy and efficient household. A well-maintained pantry ensures that food items are easy to find, reduces the risk of pests and spoilage, and helps prevent food waste.
However, it can be challenging to keep a pantry clean and tidy, especially if it is frequently used and stocked with various food items.
To keep a food pantry clean, it is essential to understand the importance of maintaining a tidy space. A clean pantry not only ensures that food items are safe to consume but also helps reduce clutter and stress in the kitchen.
Getting started with cleaning and organizing a pantry can be overwhelming, but with the right tools and strategies, it can be a manageable task. By following a step-by-step guide and implementing some simple tips, anyone can keep their pantry clean and organized.
A clean and organized pantry is essential for maintaining a healthy and efficient household.
Understanding the importance of a clean food pantry is the first step towards keeping it tidy.
Getting started with cleaning and organizing a pantry can be overwhelming, but following a step-by-step guide and implementing some simple tips can make it a manageable task.
Understanding the Importance of a Clean Food Pantry
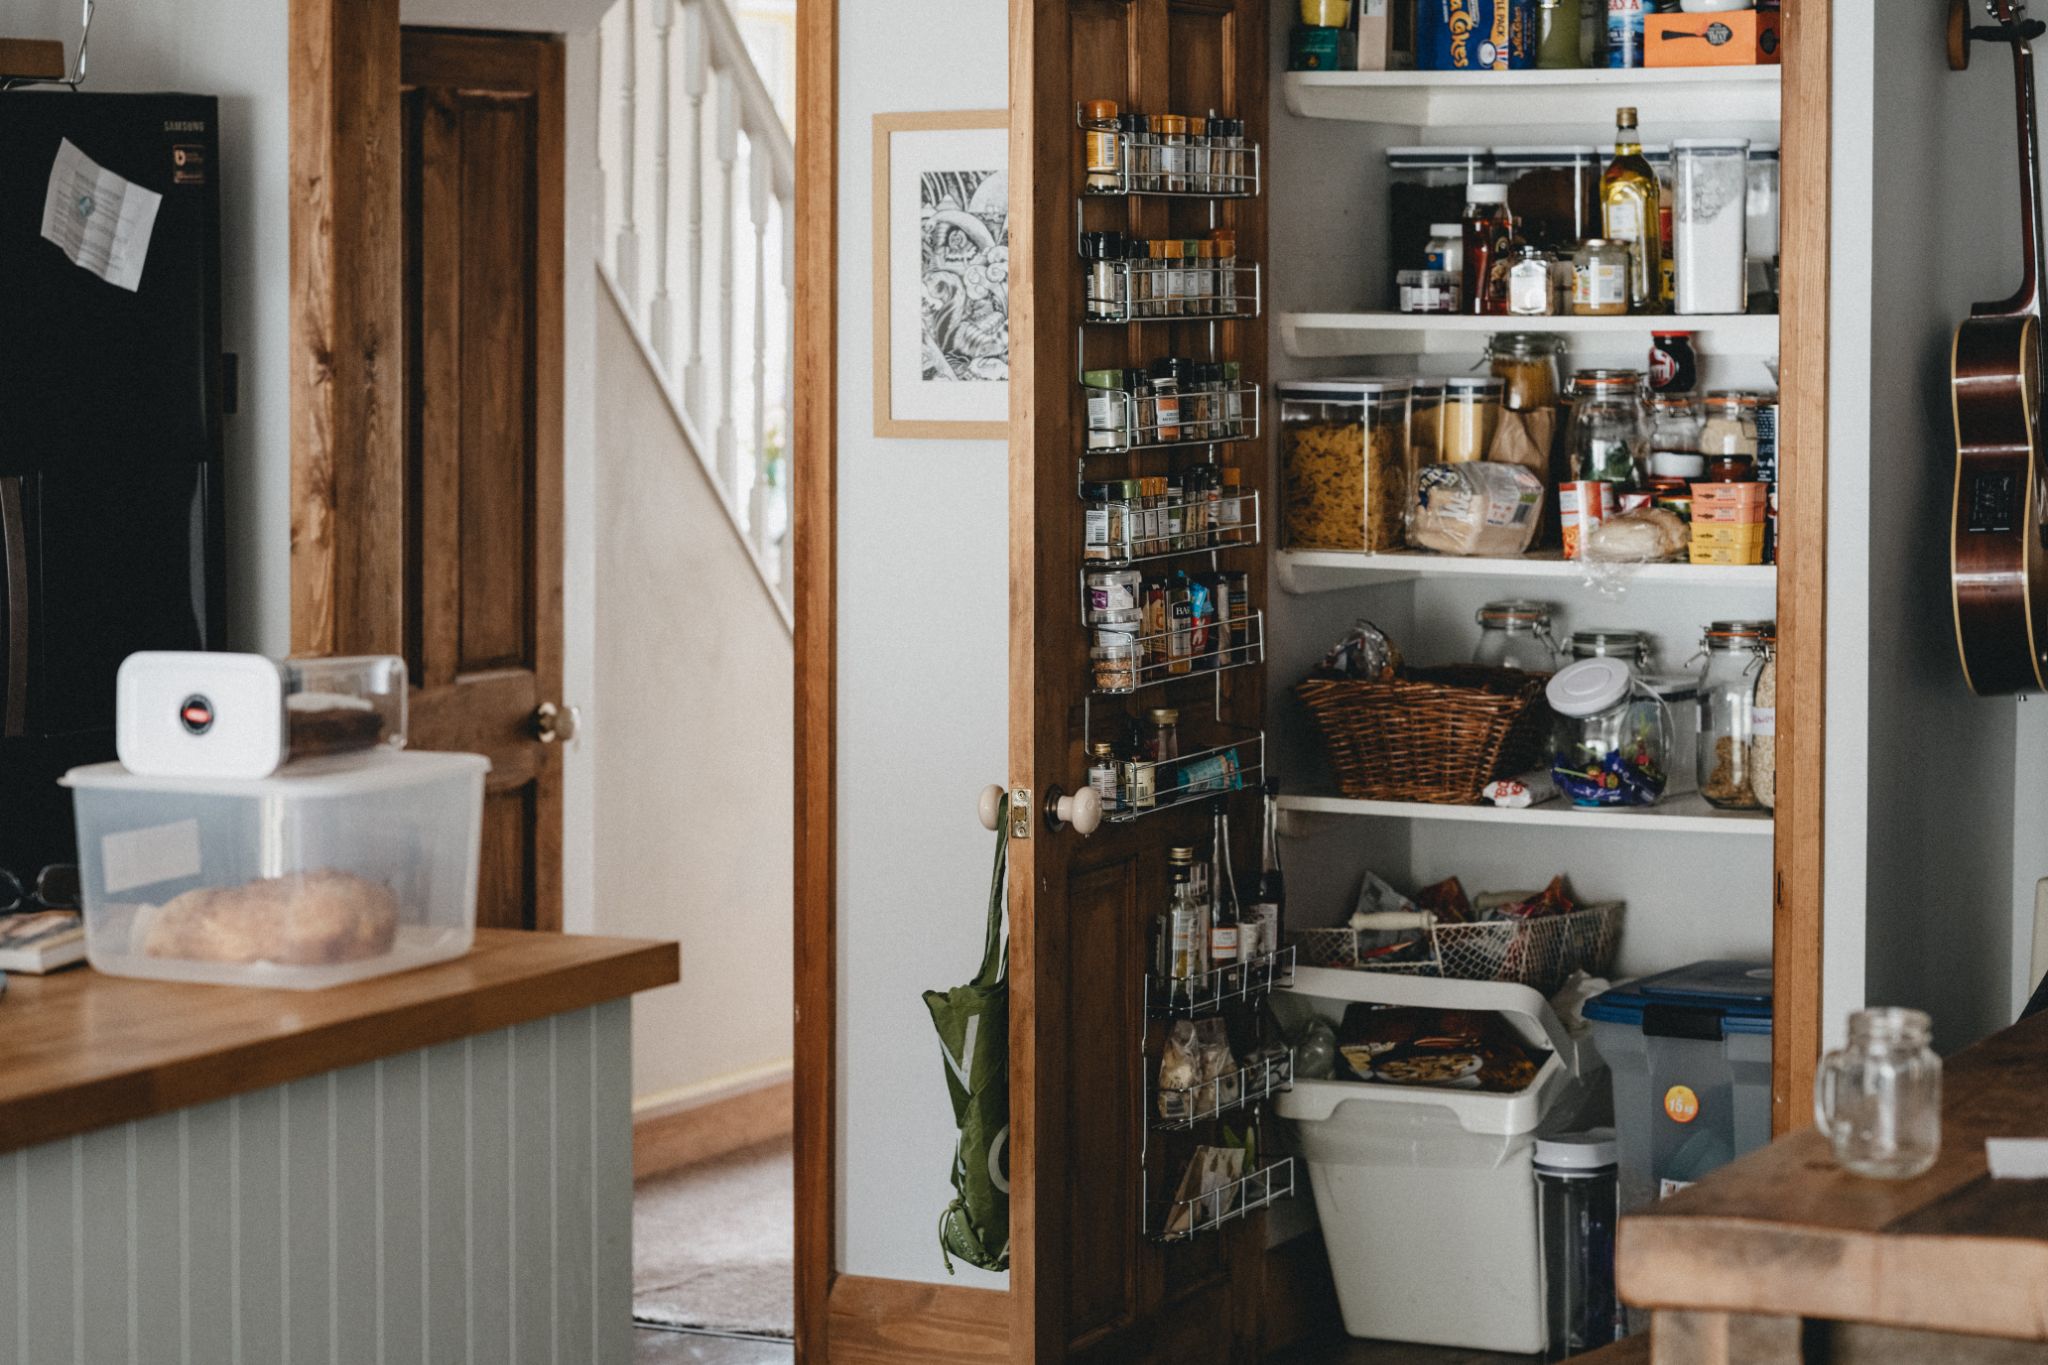
A clean and well-organized food pantry is essential for maintaining food safety and preventing food waste. The food pantry is an important part of the kitchen, and it is where most of the food is stored.
A dirty or cluttered pantry can lead to food contamination, and it can also make it difficult to find the items you need. Here are some reasons why it is important to keep your food pantry clean:
Health
A clean food pantry is crucial for maintaining good health. Food contamination can lead to foodborne illnesses, which can be life-threatening, especially for vulnerable populations such as children, pregnant women, and the elderly.
By keeping your pantry clean and organized, you can reduce the risk of food contamination and ensure that the food you eat is safe.
Food Waste
A cluttered pantry can lead to food waste. When food items are not organized, it can be difficult to keep track of what you have, and you may end up buying more than you need.
This can lead to food waste, which is not only bad for the environment but can also be costly. By keeping your pantry organized, you can reduce food waste and save money.
Efficiency
A clean and organized pantry is more efficient. When your pantry is organized, it is easier to find the items you need, and you can quickly take inventory of what you have. This can save you time when preparing meals and can also help you plan your grocery shopping more effectively.
In summary, keeping a clean and organized food pantry is essential for maintaining good health, reducing food waste, and increasing efficiency in the kitchen.
By implementing simple cleaning and organizing practices, you can ensure that your pantry remains a healthy and efficient space for storing and accessing food items.
Getting Started: Emptying the Pantry
Keeping a clean and organized pantry is essential for maintaining a healthy and efficient kitchen. The first step in achieving this goal is to empty the pantry. This may seem like a daunting task, but with a little bit of planning and effort, it can be done quickly and efficiently.
Before starting, it is important to set aside enough time to complete the task. Depending on the size of the pantry and the amount of clutter, this may take anywhere from a few hours to an entire day. I
t is also important to have a plan for what to do with the items that are removed from the pantry.
Once the necessary time and resources are available, it is time to start emptying the pantry. This involves removing all items from the shelves and placing them in a designated area.
It is important to check each item for expiration dates and to discard any that are past their prime. Expired items can be a breeding ground for bacteria and can lead to food poisoning if consumed.
As items are removed from the pantry, it is also a good time to take stock of what is on hand. This can help in creating a shopping list for future purchases and can prevent unnecessary purchases of items that are already on hand.
Finally, it is important to consider donating any unexpired items that are no longer needed. This can help reduce food waste and benefit those in need. Local food banks and charities are often in need of non-perishable items and can provide a valuable service to the community.
In summary, emptying the pantry is an important first step in keeping it clean and organized. With a little bit of planning and effort, this task can be completed quickly and efficiently.
Remember to check for expired items, take stock of what is on hand, and consider donating unexpired items to those in need.
Keeping a food pantry clean is not only about wiping down shelves and organizing items. It is also important to inspect the pantry for signs of pests, insect infestation, mold, and mildew.
Here are some tips on how to inspect your pantry for these issues:
Pests
Pests such as ants, cockroaches, and rodents can easily find their way into a pantry and contaminate food items. To prevent this, it is important to regularly inspect the pantry for signs of pest activity. Look for droppings, gnaw marks, and chewed packaging.
If you notice any of these signs, remove all food items from the pantry and clean the shelves thoroughly with soap and water. Consider using pest control products or calling a professional exterminator if the infestation is severe.
Insect Infestation
Insects such as moths, weevils, and beetles can also infest a pantry and damage food items. To check for insect infestation, inspect food items for signs of damage or webbing. Look for insects or larvae in food packaging.
If you notice any of these signs, remove the infested food items and clean the pantry shelves with soap and water. Consider using insect traps or calling a professional pest control service if the infestation is severe.
Mold and Mildew
Mold and mildew can grow on food items and contaminate other items in the pantry. To prevent this, regularly inspect food items for signs of mold or mildew. Look for discoloration, musty odors, or a fuzzy texture.
If you notice any of these signs, remove the affected food items and clean the pantry shelves with soap and water. Consider using a dehumidifier or improving ventilation in the pantry to prevent mold and mildew growth.
By regularly inspecting a pantry for pests, insect infestation, mold, and mildew, you can ensure that your food items remain fresh and safe to eat.
Deep Cleaning the Pantry Shelves
Deep cleaning the pantry shelves is an important step in keeping your food storage area clean and organized. This process involves removing all items from the shelves and thoroughly cleaning each shelf with an all-purpose cleaner and microfiber cloth.
Before cleaning the shelves, it is recommended to vacuum any loose debris or crumbs that may have accumulated. This will make the cleaning process more efficient and effective.
To clean the shelves, mix a solution of warm water and all-purpose cleaner in a spray bottle. Spray the solution onto the shelves and wipe them down with a microfiber cloth.
For tough stains or residue, mix baking soda with water to create a paste and apply it to the affected area. Let it sit for a few minutes before wiping it away with a damp cloth.
For a natural alternative, mix equal parts white vinegar and water in a spray bottle and use it to clean the shelves. Vinegar is a natural disinfectant and can help eliminate any bacteria or odors.
Once the shelves are clean, consider adding shelf liners to help protect them from spills and stains. Clear, stackable food storage containers can also be used to help keep items organized and easily accessible.
By deep cleaning the pantry shelves on a regular basis, you can help prevent insect infestations, reduce food waste, and ensure that your food storage area is clean and safe.
Organizing the Pantry: A Step-by-Step Guide
Keeping a pantry clean and organized can be a daunting task, but it doesn’t have to be. By following a few simple steps, anyone can transform their pantry into a well-organized and functional space.
Empty the Pantry: The first step in organizing any space is to start with a clean slate. Remove everything from the pantry, including food, containers, and shelves. This will allow for a fresh start and make it easier to see what needs to be organized.
Categorize the Items: Once everything is out of the pantry, categorize the items into groups such as snacks, baking supplies, drinks, condiments, and spreads. This will make it easier to see what items need to be stored together and help with the next step.
Choose Storage Containers: Using clear, stackable food storage containers, baskets, and bins can help keep the pantry organized. When choosing containers, consider the size and shape of the items that need to be stored and choose containers that will fit them well. Labels can also be helpful to identify what is in each container.
Use Shelf Liners: Shelf liners can help protect the pantry shelves and make them easier to clean. They also provide a non-slip surface for containers to rest on, which can help prevent spills and keep items in place.
Utilize Turntables: Turntables are a great way to make use of corner spaces in the pantry. They allow for easy access to items that would otherwise be difficult to reach.
Consider the Home Edit Method: The Home Edit method involves organizing items by color and creating a visually appealing space. While this may not be practical for everyone, it can be a fun way to add some personality to the pantry.
By following these steps and utilizing storage containers, shelf liners, turntables, and the Home Edit method, anyone can create a well-organized and functional pantry.
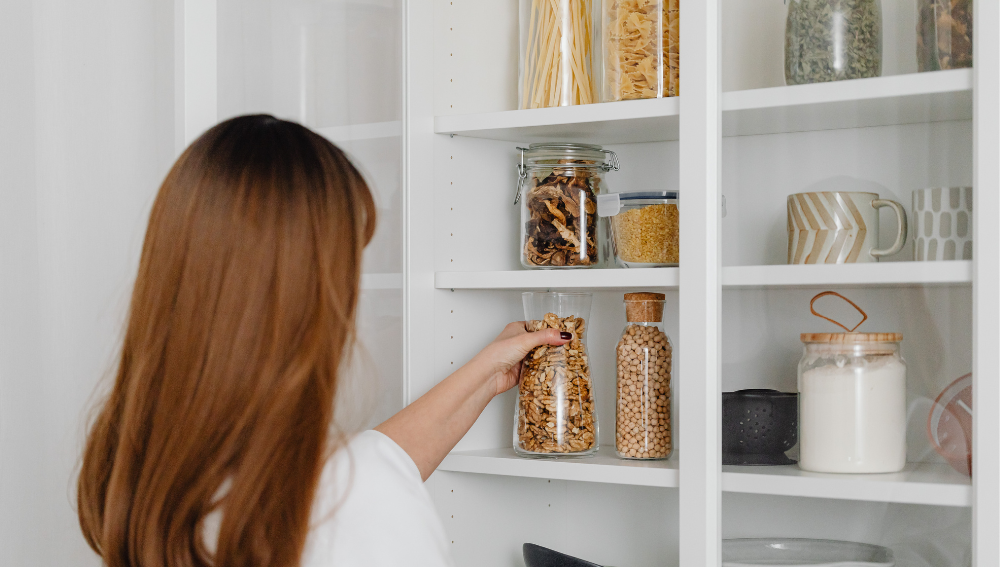
Categorizing and Storing Food Items
One of the most important aspects of keeping a food pantry clean and organized is to categorize and store food items properly. This helps to reduce clutter, prevent food waste, and make it easier to find what you need when you need it.
To start, it’s important to group similar items together. For example, canned goods should be stored in one area, while pasta and grains should be stored in another.
Baking ingredients, such as flour and sugar, should be kept together as well. This makes it easier to quickly find what you need, and also helps to prevent items from getting lost or forgotten.
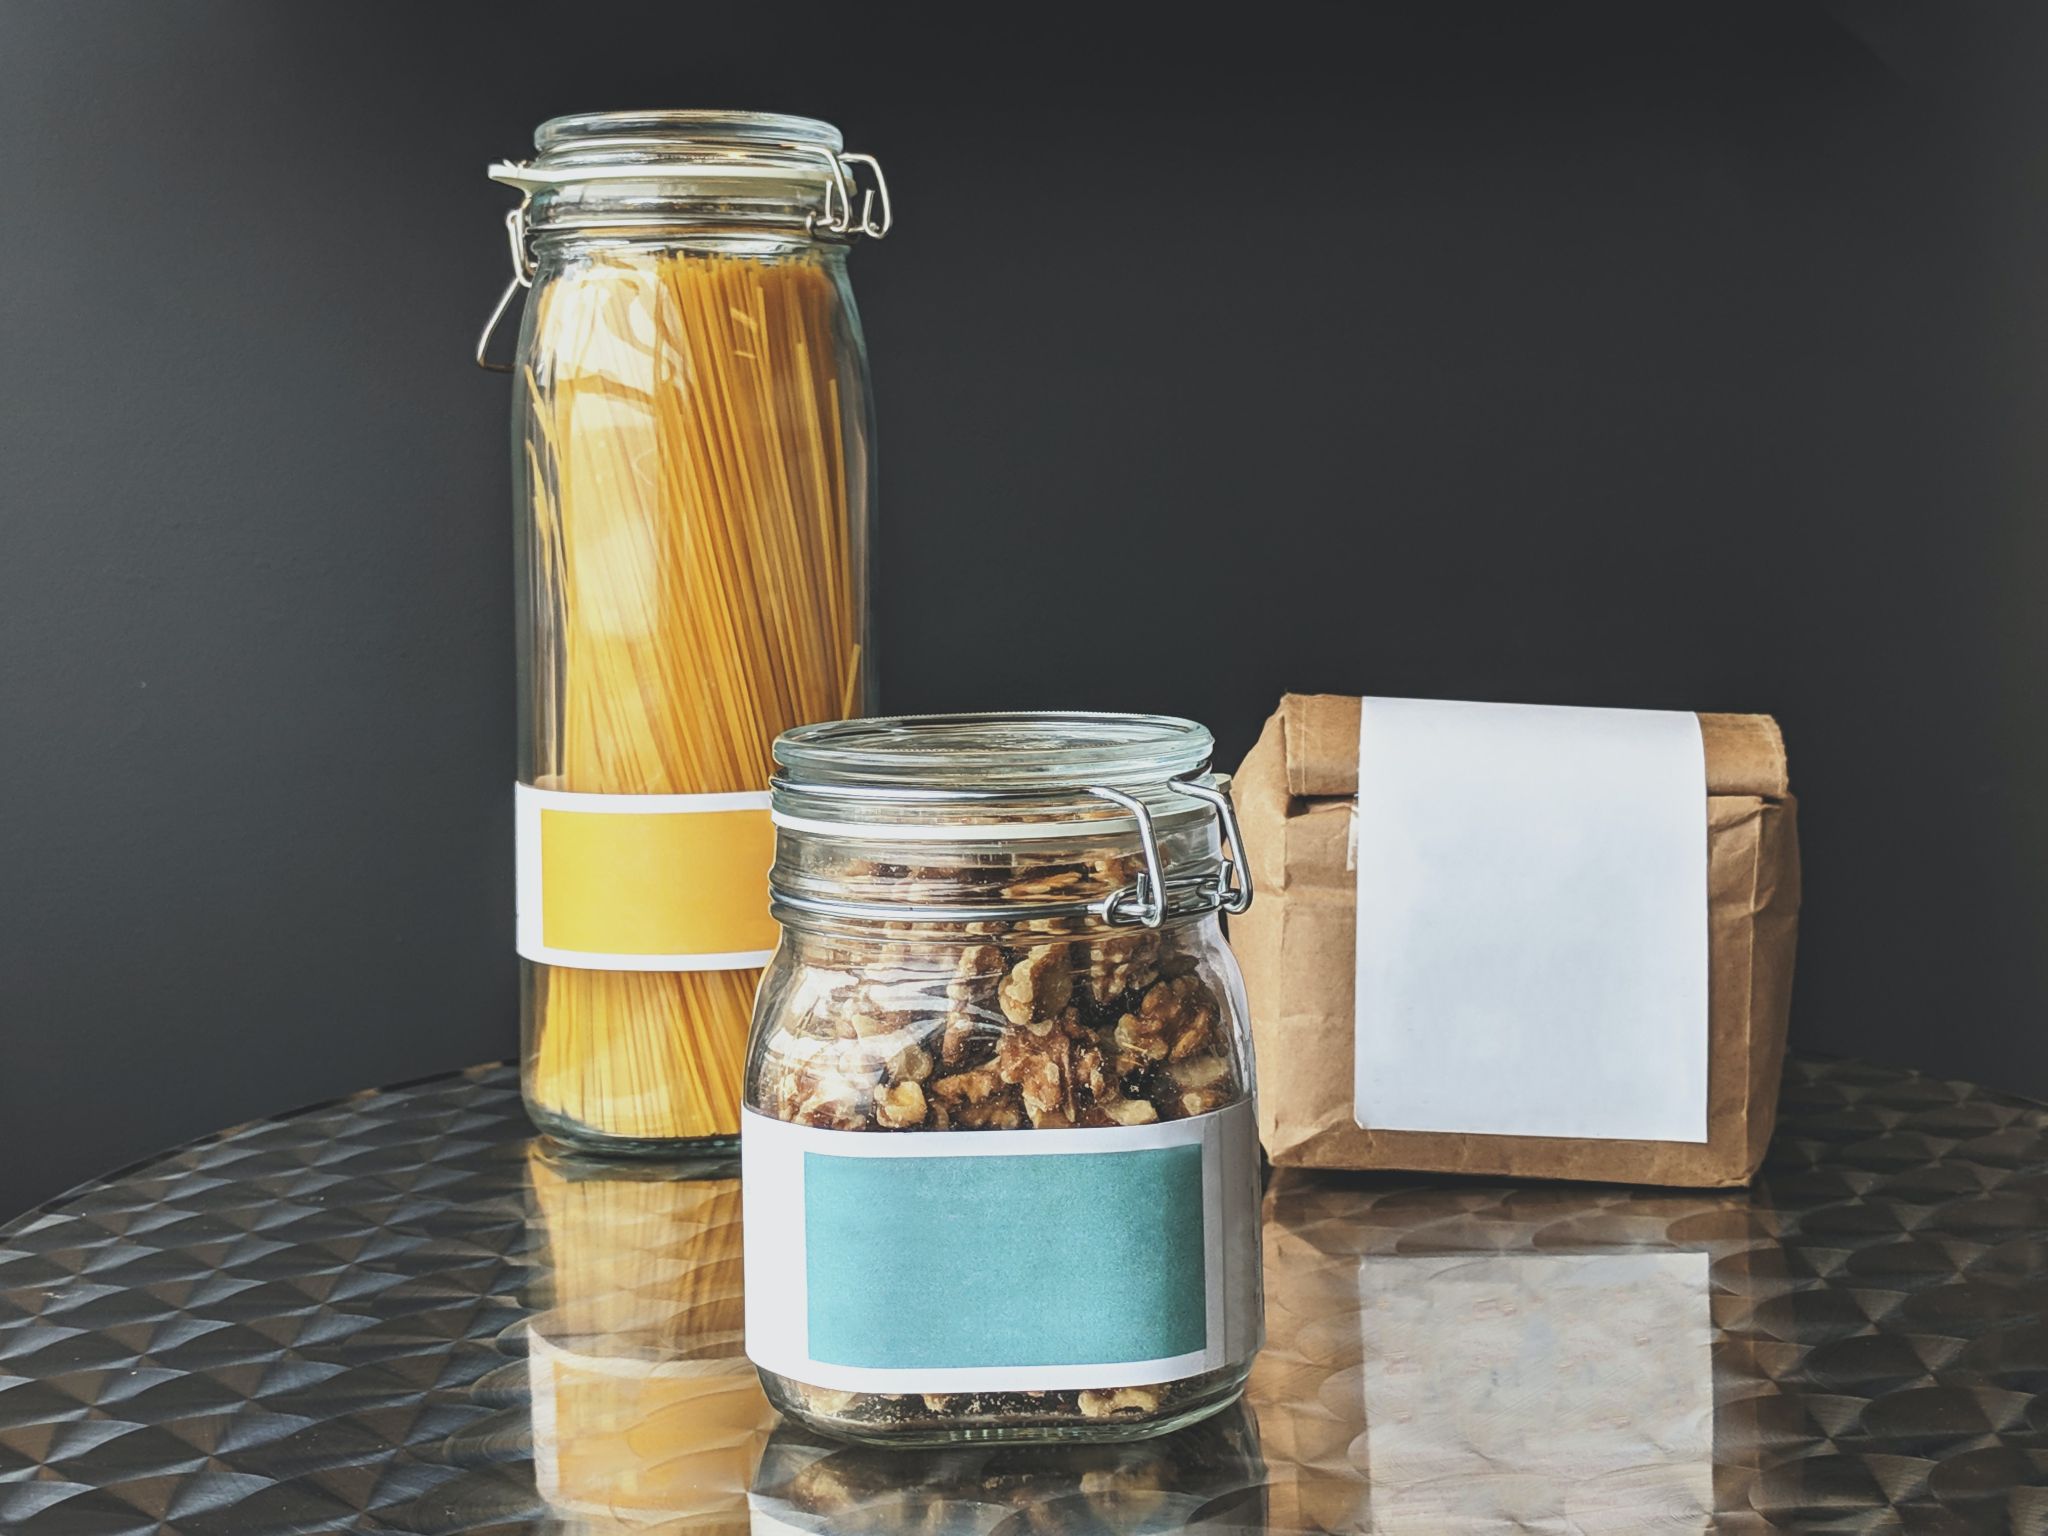
When storing food items, it’s important to use containers that are airtight and moisture-proof. This helps to prevent spoilage and keeps food fresh for longer. For example, pasta and grains can be stored in glass jars or plastic containers with tight-fitting lids.
Canned goods can be stored on shelves, but it’s important to rotate them regularly so that older items are used up first.
Spices should be stored in a cool, dry place, away from direct sunlight. It’s best to store them in a spice rack or drawer, where they are easily accessible but protected from light and moisture. Condiments, such as ketchup and mustard, can be stored in the refrigerator after they are opened to prevent spoilage.
Onions and garlic should be stored in a cool, dry place as well, but away from other food items. This helps to prevent them from absorbing odors from other foods, which can affect their flavor.
By categorizing and storing food items properly, you can keep your pantry clean and organized, and ensure that your food stays fresh and safe to eat.
Keeping Track of Expiration Dates
One of the most important things to keep in mind when maintaining a food pantry is to keep track of expiration dates.
Consuming expired food can lead to food poisoning, which can cause serious health problems. Therefore, it is essential to check the expiration dates of all the items in your pantry regularly.
One way to keep track of expiration dates is to use a system that works for you. Some people prefer to use a marker to write the expiration date on the label of each item, while others use stickers or labels to indicate the expiration date. Whatever method you choose, make sure it is clear and easy to read.
Another way to keep track of expiration dates is to organize your pantry by placing items with the closest expiration dates at the front of the shelf.
This way, you can easily see which items need to be used up first. You can also create a spreadsheet or list of all the items in your pantry, along with their expiration dates, to help you keep track of everything.
It is also important to know how long certain pantry items can last. For example, oats can last up to eight months unopened and four months after opening, while quinoa can last up to two to three years unopened and up to six months after opening.
Refer to the packaging or do some research to find out how long each item can last.
If you come across an item that has already expired, it is best to dispose of it immediately. Do not try to use expired items, even if they look and smell okay. It is better to be safe than sorry when it comes to food safety.
By keeping track of expiration dates and regularly checking your pantry, you can ensure that your food is safe to consume and avoid any potential health risks.
Restocking the Pantry
Once the pantry is clean and organized, it’s time to restock it. Here are some tips to help with the process:
Take Inventory
Before heading to the grocery store, take inventory of what you already have in the pantry. This will help avoid buying duplicates or items that are already expired. Make a list of what you need and stick to it while shopping.
Shop Smart
When restocking the pantry, it’s important to be mindful of what you’re buying. Opt for healthy options such as whole grains, nuts, and dried fruits. Avoid items that are high in sugar, salt, or unhealthy fats. Consider buying in bulk to save money and reduce packaging waste.
Plan for Meals
When restocking the pantry, it’s a good idea to plan for meals ahead of time. This can help ensure that you have all the necessary ingredients on hand for dinner. Consider making a weekly meal plan and creating a shopping list based on the plan.
Organize the Pantry
When restocking the pantry, take the opportunity to organize it as well. Use clear containers to store items such as pasta, rice, and beans.
Label the containers with the name and expiration date of the item. This will help keep the pantry organized and make it easier to find what you need.
Overall, restocking the pantry is an important part of keeping it clean and organized. With a little planning and organization, it can be a simple and stress-free process.
Maintaining a Clean and Organized Pantry
Keeping a food pantry clean and tidy is essential for maintaining food quality and preventing waste. A well-organized pantry also makes meal preparation more efficient and enjoyable.
Here are some tips for maintaining a clean and organized pantry:
Regular cleaning: Regular cleaning is key to keeping a pantry clean and organized. Wipe down shelves and containers with a damp cloth or sponge to remove any spills or crumbs. Vacuum or sweep the floor to remove any debris. Consider doing a deep clean at least once a year, preferably during spring cleaning.
Checklist: Create a checklist of items that need to be regularly checked and restocked in the pantry, such as spices, canned goods, and snacks. This will help you keep track of what you have and what you need to buy, reducing the risk of buying unnecessary items.
Labeling: Labeling containers and shelves can help you quickly find what you need and maintain order in the pantry. Use clear labels and include the name of the item and the expiration date, if applicable.
Storage containers: Using storage containers can help keep food fresh and prevent spills. Use clear, airtight containers to store dry goods such as cereal, pasta, and flour. Use stackable containers to save space.
Grouping: Grouping items by category can help you quickly find what you need and prevent clutter. For example, group snacks together, canned goods together, and baking supplies together.
By following these tips, maintaining a clean and organized pantry can be a breeze. A little effort goes a long way in ensuring that your food stays fresh and delicious.
Donating Excess and Expired Food
Donating excess and expired food to a food pantry is a great way to reduce food waste and help those in need. However, it is important to be mindful of what is being donated to ensure that the food is safe and nutritious for consumption.
When donating food, it is important to check the expiration date and ensure that the food is not expired. Food pantries cannot accept expired food, as it may be unsafe for consumption and can cause illness. If the food is expired, it should be disposed of properly.
Additionally, it is important to donate food that is not damaged or spoiled. Food pantries cannot accept damaged or spoiled food, as it may also be unsafe for consumption and can cause illness. A good rule to follow is to donate food that you would eat or feed your child.
When donating non-perishable food items, such as canned goods or dry goods, it is important to ensure that the packaging is intact and not damaged. If the packaging is damaged, the food may be contaminated and unsafe for consumption.
If you are unsure about what items a food pantry will accept, it is recommended to check with the pantry beforehand. Some food pantries may have specific guidelines or restrictions on what items they can accept.
Overall, donating excess and expired food to a food pantry can be a great way to reduce food waste and help those in need. However, it is important to be mindful of what is being donated to ensure that the food is safe and nutritious for consumption.
Preventing Food Waste
Preventing food waste is an important aspect of keeping a food pantry clean and organized. Not only does it help reduce waste, but it can also save money and benefit the environment.
Here are some tips to prevent food waste:
Take an inventory: Before going to the store, take stock of what is already in the pantry, refrigerator, and freezer. This can prevent overbuying and ensure that food is used before it expires.
Create a meal plan: Planning meals for the week can help ensure that food is used before it goes bad. It can also prevent overbuying and save money.
Check expiration dates: Before using any food item, check the expiration date to ensure that it is still safe to eat. Expired food should be discarded.
Store food properly: Proper storage can help prevent food from spoiling too quickly. For example, keeping the temperature of the refrigerator at 40°F or below can help keep food safe.
Compost: Instead of throwing away food scraps, consider composting them. Composting can help reduce waste and provide nutrient-rich soil for plants.
By following these tips, food waste can be reduced and the pantry can be kept clean and organized.
Frequently Asked Questions
What are some tips for keeping a food pantry clean and organized?
Keeping a food pantry clean and organized requires regular maintenance and attention. Here are some tips to help keep your pantry in top shape:
Store food in airtight containers to prevent pests and keep food fresh
Label containers with the date of purchase or expiration date
Group similar items together to make it easier to find what you need
Keep a small vacuum or broom nearby to quickly clean up spills and crumbs
Regularly check for expired or spoiled food and dispose of it properly
How often should I clean my pantry?
The frequency of pantry cleaning depends on how often it is used and how quickly food is consumed. A good rule of thumb is to clean the pantry at least once every three months.
However, if you notice spills or crumbs, it’s best to clean them up immediately to prevent pests and bacteria from spreading.
What are some common mistakes to avoid when organizing a pantry?
When organizing a pantry, it’s important to avoid these common mistakes:
Overcrowding shelves, which can make it difficult to find what you need
Storing items in their original packaging, which can take up unnecessary space
Not labeling containers, which can lead to confusion and waste
Neglecting to regularly check for expired or spoiled food
What are some effective ways to disinfect pantry shelves?
To disinfect pantry shelves, follow these steps:
Remove all items from the shelves
Use a vacuum or broom to remove any loose debris
Mix a solution of equal parts water and white vinegar in a spray bottle
Spray the solution onto the shelves and let it sit for a few minutes
Wipe the shelves clean with a damp cloth and allow them to air dry before restocking
How can I prevent pests from getting into my pantry?
To prevent pests from getting into your pantry, take these steps:
Store food in airtight containers
Regularly check for signs of pests and dispose of any infested food
Keep the pantry clean and free of crumbs and spills
Seal any cracks or openings in walls or floors that pests could use to enter
What are some recommended storage containers for a pantry?
When choosing storage containers for a pantry, look for airtight containers that are easy to stack and label. Here are some recommended options: